What is Sentora?
Sentora is one of the best control panels for servers.
This article will show you how to install Sentora on CentOS 7. You can also install it on CentOS 6,7, Ubuntu 12.04 and Ubuntu 14.04.

Are you looking for a cPanel alternative to hosting your site? If so, you can try Sentora. Sentora is an open source web hosting control panel built specifically to work on a variety of Linux distributions.
Compatible operating system : CentOS 6, CentOS 7, Ubuntu 12.04, Ubuntu 14.04.
Main functions :
- Designed for creating many small host packages, you can create hosts for guests.
- Manage limited features on each user.
- Support API to connect with third services, such as billing administration tools like WHMCS.
- Support extra modules to enhance features.
- Support creating a Reseller account. Reseller accounts are not Admin accounts but they can create many other small host packages.
- Easily customize the interface of the control panel.
Technology used :
- Apache Web server – The most popular Web server.
- PHP – Yeah, you can’t run WordPress or PHP scripts without it.
- ProFTP – Create FTP Server.
- MySQL / MariaDB – SQL database management system.
- Postfix – Configure Email Server.
- phpMyAdmin – Database management.
- DoveCot – Create an IMAP Server.
Now, We will guide you to install Sentora on any VPS server, with this tutorial you can also apply the installation on VPS server running on Linux platform … You can buy the high ram VPS at Contabo with 4GB Ram, 300GB Storage, CPU 2 cores just only 3.39 eur/month.
System requirements:
- CentOS 7 operating system
- Disable SELinux
Steps to proceed:
1. Update CentOS 7:
yum -y update2. Install wget tool to download the installation file
yum install wget -y
3. Download the installation file using wget and make it executable
wget http://sentora.org/install

chmod + x install
4. Start the installation by executing the scripts
./install
The server will restart to complete the installation. After booting, you can access the Sentora manager using the web browser:
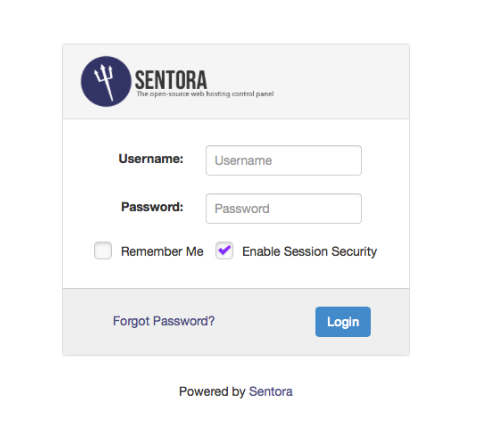
Use the username/password created during the above installation process to log in. Once you are logged in you can start creating new domain names, web hosting, and email Hostings. Good luck to you!
Next article I will guide you to use Sentora to manage your hosting.