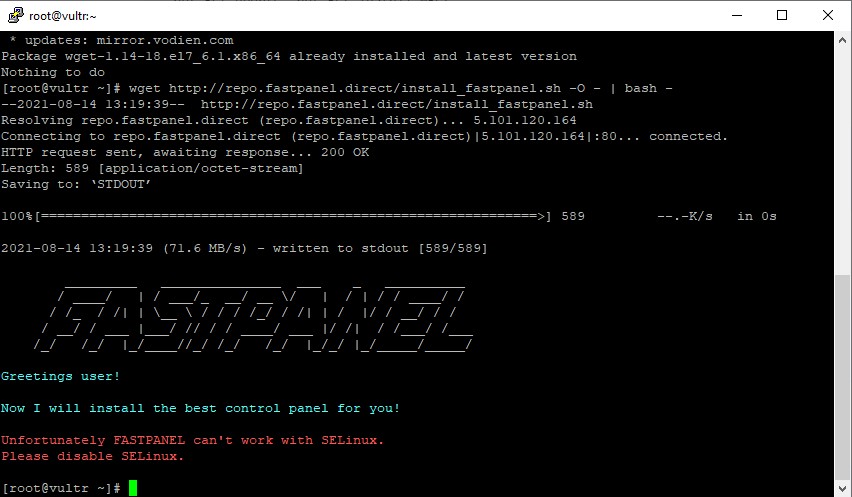
SELinux is a security part of the Server. However, in many cases when you want to install software, you will have to turn off SELinux to be able to install it. For example, if you need to install FASTPANEL as shown below, you must have disabled SELinux before install the FastPanel control panel.
And in this article, I will guide you to disable SELinux CentOS 7 (disable SELinux).
What is SELinux?
SELinux is a security feature that restricts access to certain modules on the kernel. With CentOS 7 when installed, SELinux is enabled by default. And SELinux is also installed on other Linux OS like Debian. SELinux is managed through principles known as “policies,” which restrict or allow certain applications to access critical system components.
Here are the statuses of SELinux:
- The Enforcing blocks all unauthorized access. In this status, SELinux is enabled.
- Permissive SELinux status will only warn, not block access.
- The Disable SELinux status will be disabled and all unauthorized access will be possible and no warning will be given.
So we know how SELinux works. And know whether to disable it or not.
How to Disable SELinux on CentOS 7?
With SELinux, you will have two options that are temporarily disabled and permanently disabled. Each status has its own benefits.
For temporary disabling, you will not need to restart the Server for SELinux to change state. And after the Server is restarted SELinux will automatically be enabled according to the operating system.
As for completely disabling you will have to restart the Server to completely disable SELinux.
Depending on your purpose of use, you choose one of the two cases above.
Temporarily disable SELinux on CentOS 7
To disable SELinux temporarily on CentOS 7, first, we need to do SSH login to the server. If you do not know how to SSH into your VPS or Server, you can refer to the following tutorial:
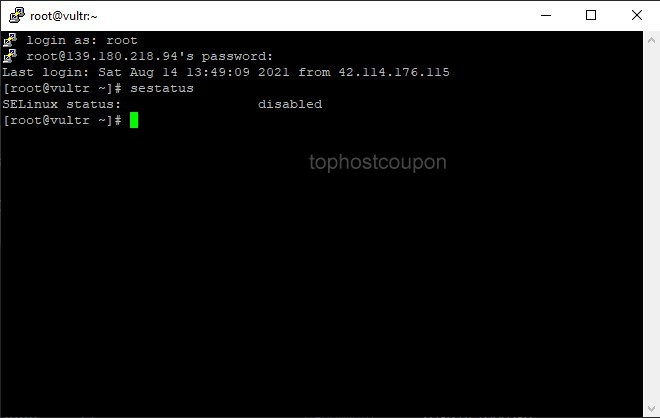
After successfully SSHing into your server, we use the sestatus command to check the SELinux status:

As you can see in the picture above my current mode (current state) SELinux is enabled. To temporarily disable SELinux we will use the following command:
setenforce 0
Then use the sestatus command to check again, you will see the SELinux status is temporarily disabled as shown in the screenshot below.
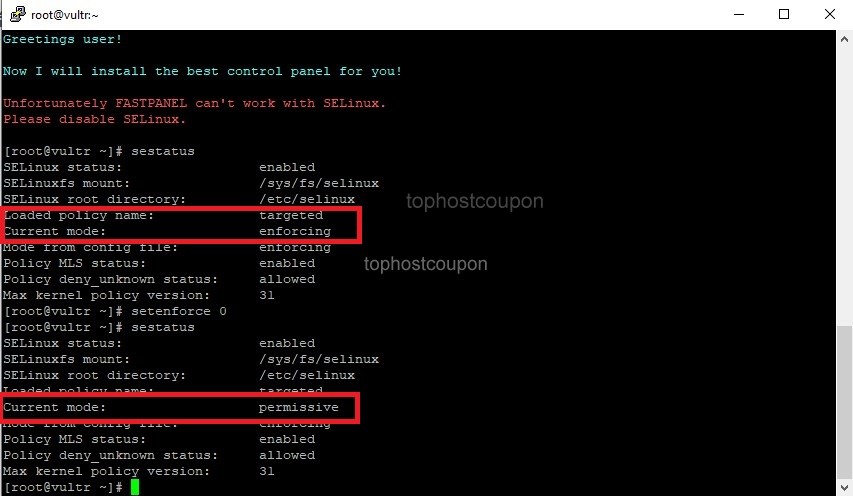
So we have successfully disabled SELinux temporarily. The advantage of this method is that there is no need to restart your Server.
Permanently Disable SELinux on CentOS 7
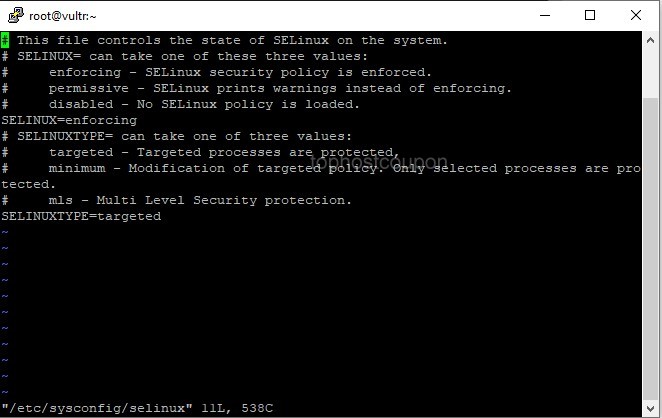
To disable SELinux permanently on CentOS 7 we will need to change the configuration file information of SELinux.
Use the command vi /etc/sysconfig/selinux to edit the SELinux configuration file.
Find the line SELINUX=enforcing, select the I key to enter the file editing state, and set it to SELINUX=disabled.
then edit it SELINUX=disabled
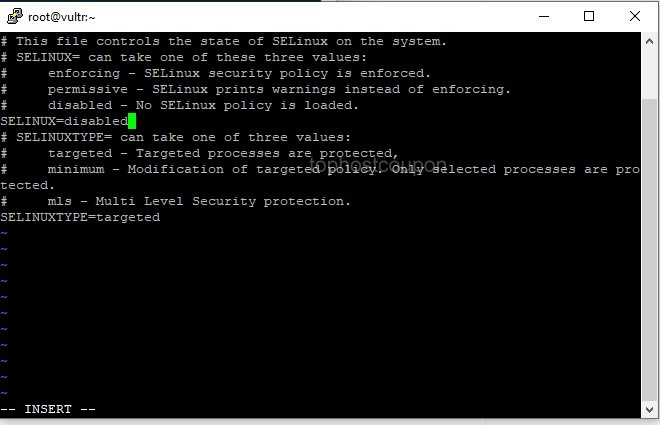
Then press the ESC key to exit the editing state and type :x then Enter to save and exit. Finally, you will need to use the reboot command to restart the Server. Then check the SELinux status again with the following command:
sestatus
As a result, you will see that SELinux has been disabled on CentOS 7.
SELinux is a very good security layer on CentOS 7. However, in some cases, we will need to turn it off. Currently, security on CentOS in general and Linux, in particular, is also very good, so disabling SELinux is almost not losing security too much.
So you know how to disable SELinux CentOS 7. The VPS in this article we are using at the Vultr provider. Currently, Vultr is giving away free $ 100 for new customers to experience VPS services. You can view and get a $100 credit coupon at Vultr coupon codes.
Wishing you success. If you need help or have any questions, please leave a comment below this article.