Most Shared Hosting providers use Hosting management software like cPanel, Direct Admin. However, they are all commercial software and the cost per month to use is extremely expensive.
If you are an individual user, have 1 VPS or dedicated server, but do not have much experience using the command line or want to use 1 Hosting management software for simplicity and convenience.
So I would like to introduce a new Hosting management software which is CyberPanel.

CyberPanel is a free web hosting control panel developed and supported by OpenLiteSpeed.
Features, speed, free SSL support. CyberPanel has 2 free and commercial versions.
CyberPanel Features
- Support many languages
- Modern web interface, responsive support for mobile
- Support OpenLiteSpeed or LiteSpeed Enterprise.
- Supports many types of Cache: Memcached and Redis.
- Support for multiple PHP versions.
- Support MariaDB and MySQL databases
- Support free automatic SSL renewal – Let’s Encrypt.
- Built-in Lightweight DNS Server, Email Server (Rainloop Webmail), Command Line interface, FirewallD, SpamAssassin, ModSecurity, …
- Install WordPress, Drupal, Magento, etc. in just one click.
- Git support (Github, Gitlab)
Minimum configuration to install
- HDH Centos 7.x (Recommended Minimal CentOS version)
- Python 2.7
- RAM equal to or more than 1024MB
- Capacity equal to or more than 10GB Disk Space
CyberPanel Installation Guide
To install CyberPanel, you need to use root. (Does not work with sudo-authorized users)
Install
To install we use the following command. This is a command to install the free version, it will not require entering any license when installing at all.
Remember to update the system with the command yum
[root@sv ~]# yum update -y
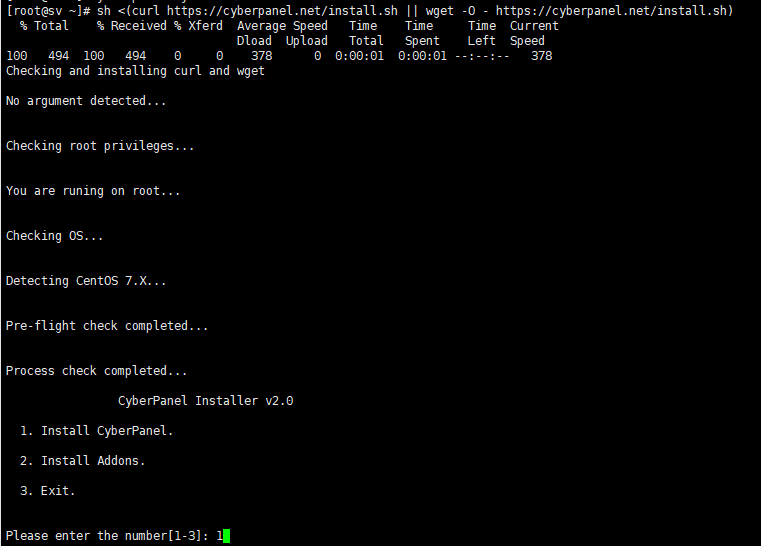
[root@sv ~]# sh <(curl https://cyberpanel.net/install.sh || wget -O – https://cyberpanel.net/install.sh)
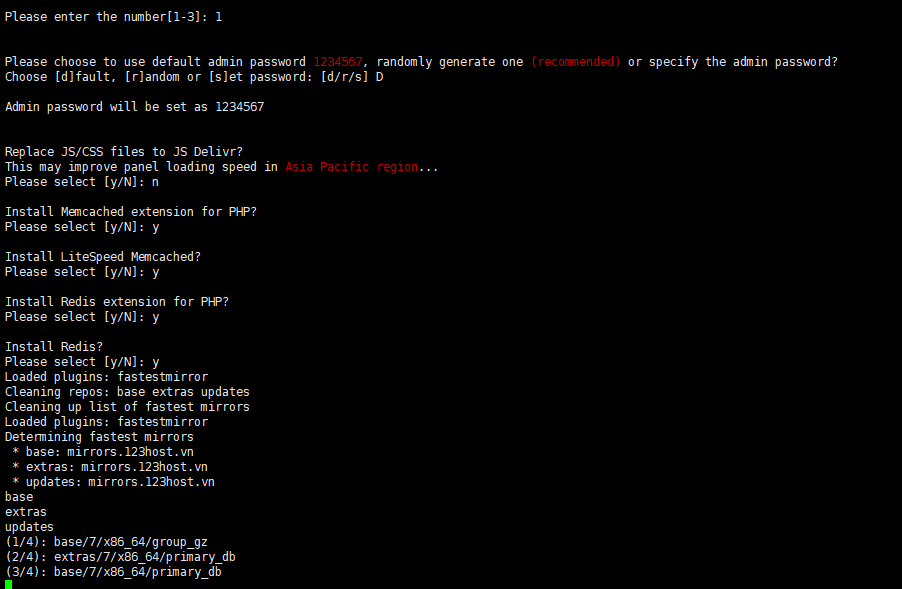
After running the command on the server we perform the following steps:
Choose 1 – ” 1. Install Cyber Panel ” to install for the first time
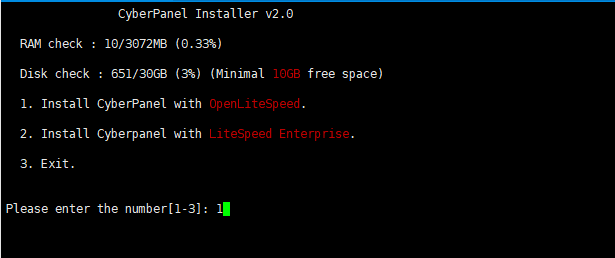
LiteSpeed version to install.
Choose 1 – “1. Install CyberPanel with OpenLiteSpeed.”
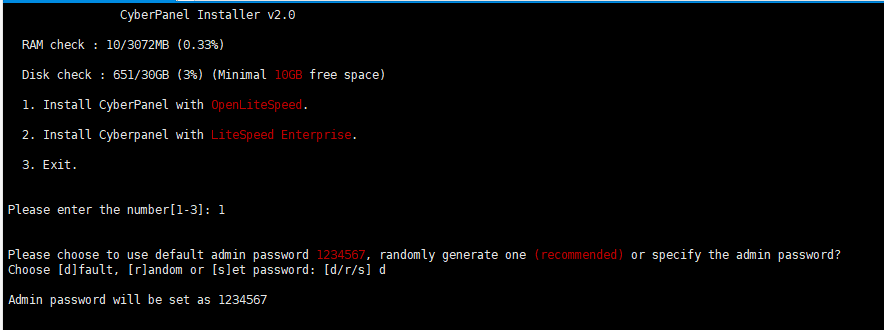
Choose the default password for the admin, there are 3 options:
- [d] fault: the password is 1234567
- [r] andom: random password
- [s] et password: your password
Here I choose d and will reset the password after installation.
Some other additional settings like:
- Install Mirror Server: N
- Use JS Deliver: N
- Install Memcached: Y
- Install Redis Cache: Y
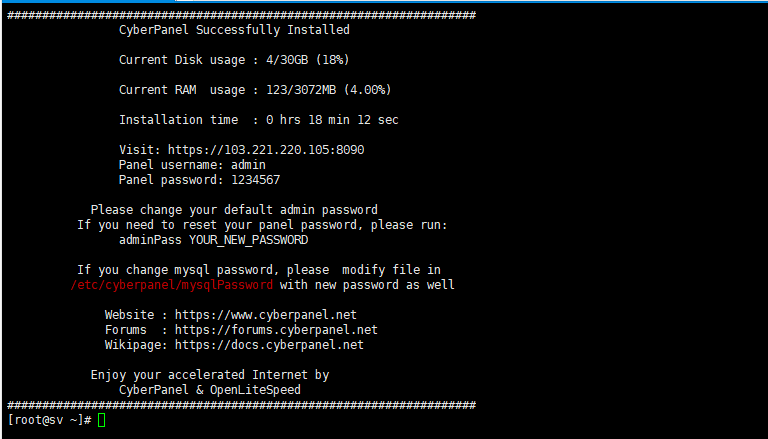
The installation will take place and the result after installation is the information below.
- https:<IP Address>:8090
- Panel Username: admin
- Panel Password: 1234567
- MySQL Username
- MySQL Password
Some things to do after a successful installation
You need to change the password of the Admin Panel.
If we choose the default password when installing, we can change the admin password with the following command:
adminPass <your_password>
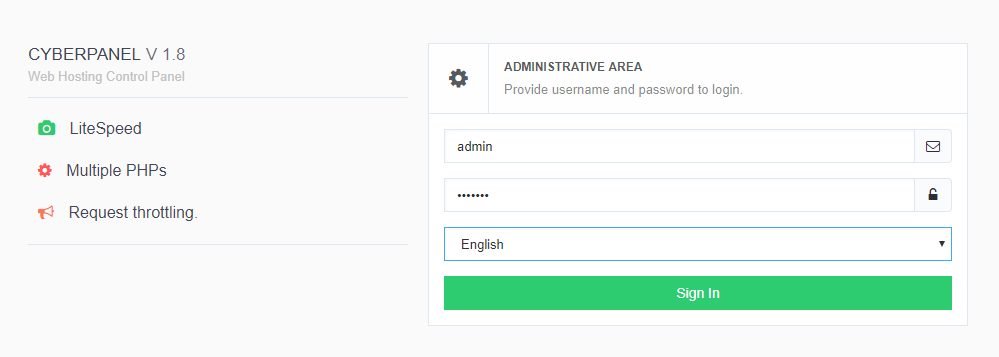
Access to the link https: <IP Address>: 8090 with the admin user and the password you have changed.
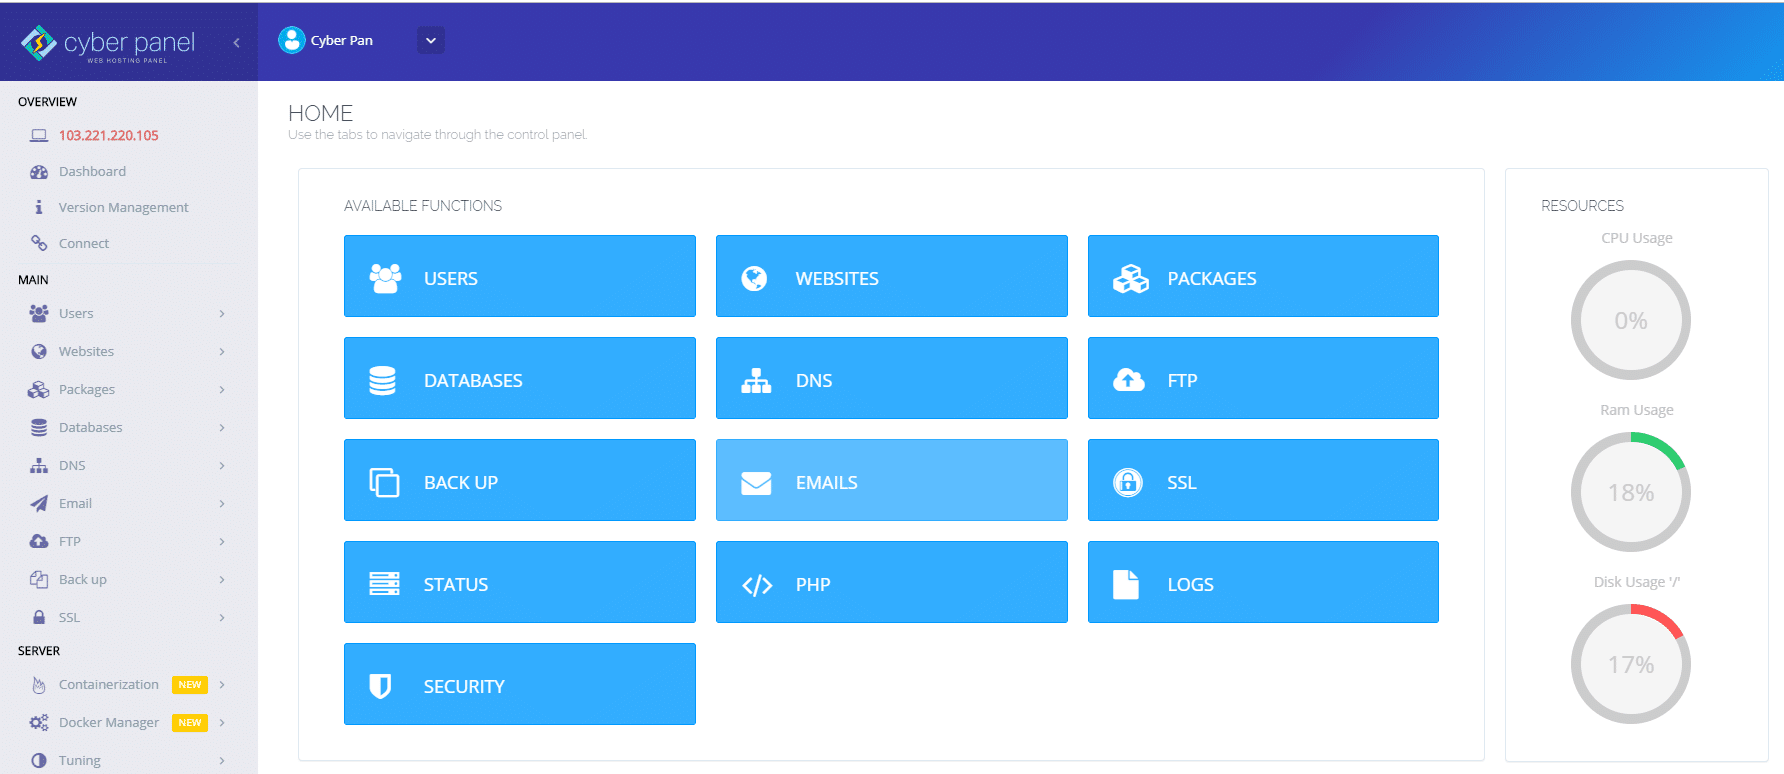
Cyber Panel after login successfully
Remember to change upload limit for PHPmyadmin
The default value to upload the database in PhpMyadmin of CyberPanel is only 2M (the default of php). To increase this value, go to Server => PHP => Basic => Select PHP Version 7.0
Setting parameters as shown below.
- upload_max_filesize
- post_max_size
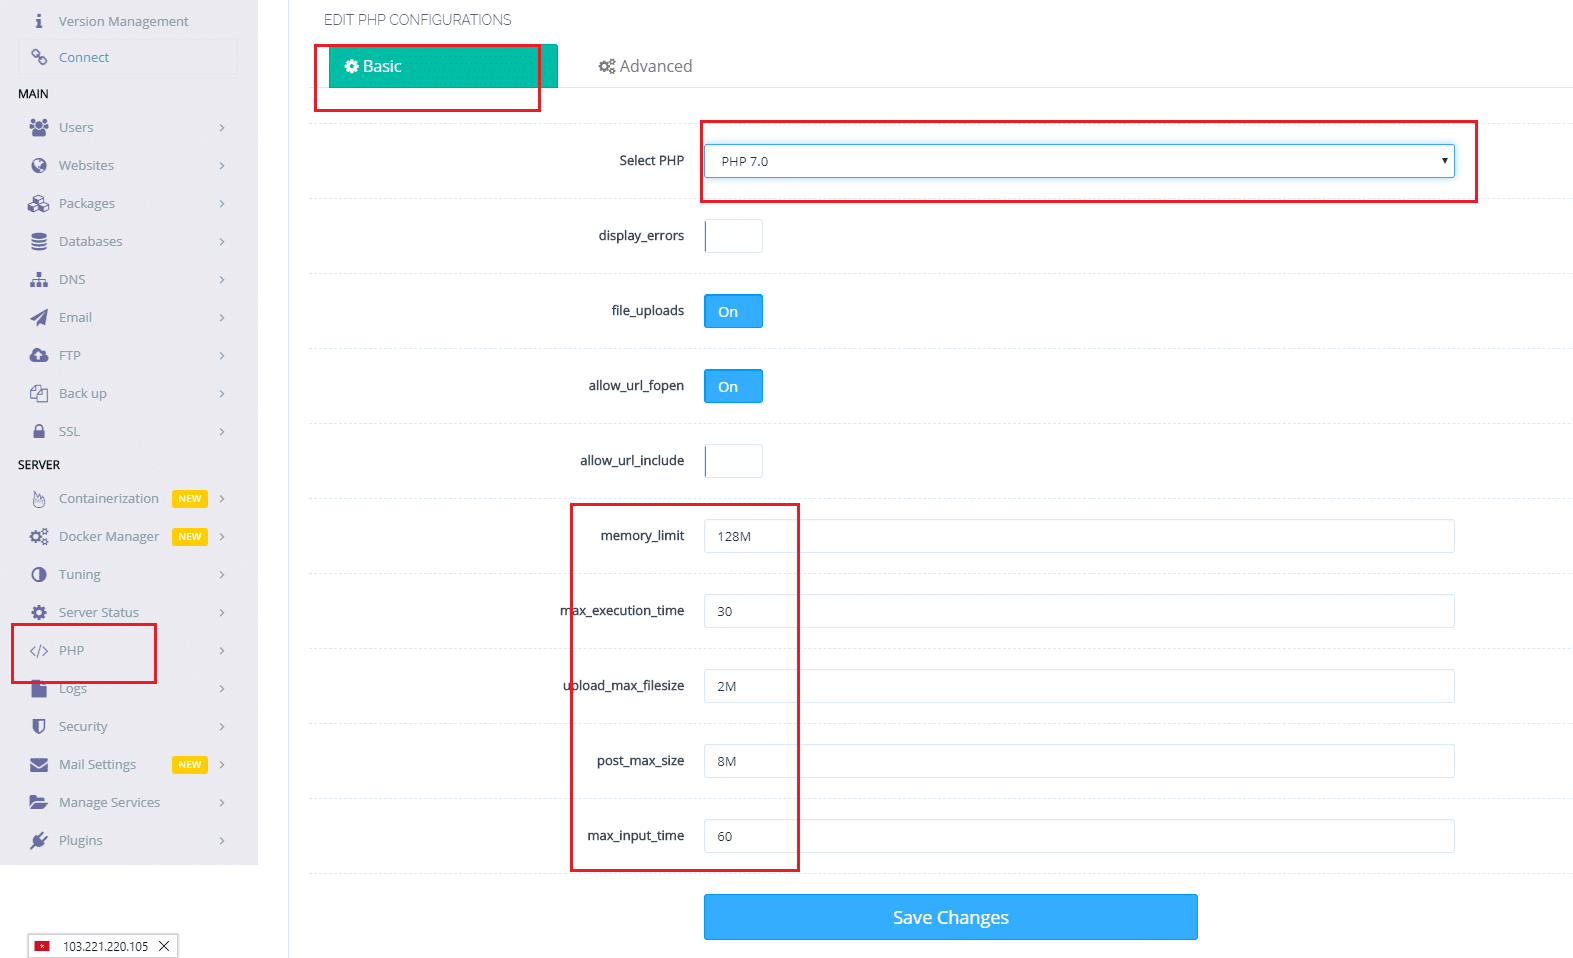
Then click Save Changes to save.
Good luck and Have fun!