Vesta Control Panel is one of the best hosting control panels for Linux server. because it’s so simple, compact, feature-rich and especially easy to use. You can also experience Sentora because Sentora is also one of them.
What is Vesta Control Panel
Vesta is free and it is open source. Vesta CP is the product of programmers from Russia. You can read all the information at Vesta CP’s homepage: http://vestacp.com
The biggest advantage of Vesta control panel is that Vesta supports both Apache and Nginx. It uses Apache as an Application web server and Nginx is a frontend web server to reduce the load for Apache.
Vesta supports most of the essential features of a web server such as FTP, DNS, Email, MySQL, phpMyAdmin, automatic backup tools, Upgrade automatically, cronjob, security (antivirus, antispam email)…
And Vesta can be installed on most Unix-like operating systems like: RHEL 5, RHEL 6, CentOS 6, Debian 7, Debian 8, Ubuntu…
Instructions for installing Vesta Panel on CentOS
Installing Vesta is extremely simple, simpler than anything you do on Linux (CentOS or Ubuntu). You can buy VPS at Contabo. Their VPS service is very good, very cheap price and great resources. With just 4,99 eur/month, you will get 8GB ram and 200GB SSD storagge. Information on service packages and reviews you can see here.
You only need two steps to install Vesta Control Panel on Vps:
Step 1: Download script/bash by command
curl -O http://vestacp.com/pub/vst-install.sh
Step 2: Run the script with the command
bash vst-install.sh
Sometimes you install an error, usually by the server (or VPS) you have installed a component of Vesta already. At that point, run the following command to install Vesta
bash vst-install.sh -force
Enter y to confirm the installation. The installation process usually lasts from 10 mins to 20 mins. After successful installation.
Vesta will display packages that will be installed on VPS, press y to confirm and install. The default installer includes:
- Nginx Web Server
- Apache Web Server (as backend)
- Bind DNS Server
- Exim Mail Server
- Dovecot POP3/IMAP Server
- MariaDB Database Server
- Vsftpd FTP Server
- Softaculous Plugin
- Iptables Firewall + Fail2Ban
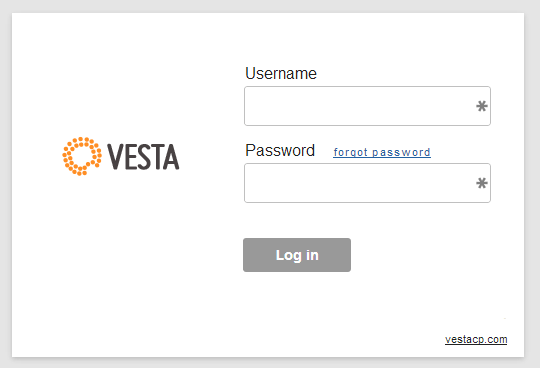
You will receive an email containing login information.
Vesta’s default port is 8083!
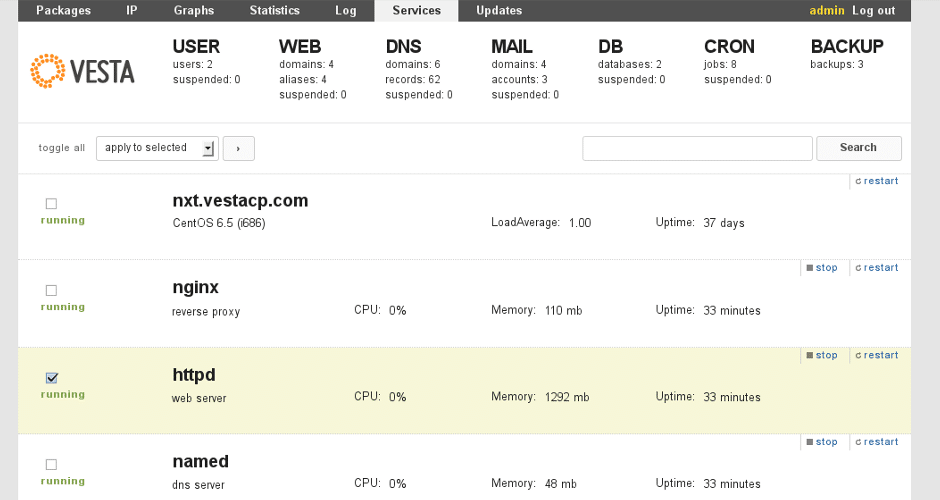
After successfully logging into the admin page, Vesta’s main interface is shown below:
To start adding a website, proceed with the following two steps:
– Step 1: Go to WEB menu to add a website, note enable/tick NGINX item and allow FTP to create an FTP account and upload website source code to host
– Step 2: At the DB menu, you create a database for the website. OK, now you use FTP to configure the website and run!
Good luck to you!